Rail 7 - SorceryからDeviseへ苦渋の決断
ユーザー機能はSorceryの方がイイ!と思っていたが...
Railsのユーザー機能を便利に設定できるGemとしてSorceryとDeviseが二大勢力だと思われます(検索した感じはDeviseの方が圧倒的に強いが)。
これまで学習してきた中では融通が効くと認識よりSorceryしか使用したことがなく、当然のごとくアプリケーション制作においてもSorceryを使用してユーザー機能を作成したのですが、1つ大きな壁にぶち当たりました。
SorceryはLINEログインを使用できない!?
僕が開発しているアプリケーションではLINEmessagingAPIを使用する予定なのですが、どうやらSorceryではLINEログインができないっぽいです!
調べていくとSorceryでモンキーパッチ(外部ライブラリの挙動を、動的に拡張する仕組み)を設定してLINEログインできるようにすることもできるようですが、あまりそれは好ましくないとのこと。
LINEログインを行うためにはDevise+Omniauth(別の記事で触れる予定)が常道らしいので手間はかかりますが変更を行うことにしました。
なお軽く検索にかけたところそういった変更をするケースの記事がなかったので(そもそも間違えて使用したりはしない?)まとめていきたいと思います。
手順①既存のSorcery関連のファイルを削除
$ rails d sorcery:install
をすると...
remove  config/initializers/sorcery.rb
generate  model User --skip-migration
rails  generate model User --skip-migration
subtract  app/models/user.rb
subtract  app/models/user.rb
remove  db/migrate/20211126231040_sorcery_core.rb
といったファイルが削除&修正される。
そしてGemfileよりsorceryを削除し$ bundle install。
ただこの状況だとSorceryのマイグレーションファイルがなくなっているのにdb/schema.rbには全く変更がない状態です。
なので面倒にはなりますがUserテーブルを一度削除します。
手順②外部キー設定を解除する
僕のケースではTaskというモデルが存在していてuser_idという外部キーを持ちアソシエーション関係にあるため、ここから修正しないとUserテーブルを削除できない(しようとするとエラーになります)。
$ rails g migration remove_user_from_task
をしたらマイグレーションファイルの内容を...
class RemoveUserFromTask < ActiveRecord::Migration[6.0]
  def change
    remove_reference :tasks, :user, null: false, foreign_key: true
  end
end
として
$ rails db:migrate
するとアソシエーション関係が解消するためUserテーブルを消すことができる。
手順③Userテーブル削除
$ rails g migration drop_user
としてマイグレーションファイルを
class DropUser < ActiveRecord::Migration[6.0]
  def change
    drop_table :users do |t|
      t.string "email", null: false
      t.string "crypted_password"
      t.string "salt"
      t.datetime "created_at", precision: 6, null: false
      t.datetime "updated_at", precision: 6, null: false
      t.index ["email"], name: "index_users_on_email", unique: true
    end
  end
end
として...
$ rails db:migrate
これでUserテーブルが消せた!
Deviseの設定
これでUserテーブルのない素の状態になったので、通常通りにDeviseを導入できる(とはいっても僕は使うのが初めて😅)。
$ rails g devise:install
すると
Depending on your application's configuration some manual setup may be required:

  1. Ensure you have defined default url options in your environments files. Here
     is an example of default_url_options appropriate for a development environment
     in config/environments/development.rb:

       config.action_mailer.default_url_options = { host: 'localhost', port: 3000 }

     In production, :host should be set to the actual host of your application.

     * Required for all applications. *

  2. Ensure you have defined root_url to *something* in your config/routes.rb.
     For example:

       root to: "home#index"

     * Not required for API-only Applications *

  3. Ensure you have flash messages in app/views/layouts/application.html.erb.
     For example:

       <p class="notice"><%= notice %></p>
       <p class="alert"><%= alert %></p>

     * Not required for API-only Applications *

  4. You can copy Devise views (for customization) to your app by running:

       rails g devise:views

     * Not required *
と出るのでとりあえず命令通りに1だけ設定。
そして
$ rails g devise User
とするとマイグレーションファイルができるのでとりあえずそのまま
$ rails db:migrate
をする。そうすると
db/schema.rb
  create_table "users", options: "ENGINE=InnoDB DEFAULT CHARSET=utf8mb4", force: :cascade do |t|
    t.string "email", default: "", null: false
    t.string "encrypted_password", default: "", null: false
    t.string "reset_password_token"
    t.datetime "reset_password_sent_at"
    t.datetime "remember_created_at"
    t.datetime "created_at", precision: 6, null: false
    t.datetime "updated_at", precision: 6, null: false
    t.index ["email"], name: "index_users_on_email", unique: true
    t.index ["reset_password_token"], name: "index_users_on_reset_password_token", unique: true
  end
とDevise式のUserテーブルができていることがわかる。
http://localhost:3000/users/sign_upに行ってみると...
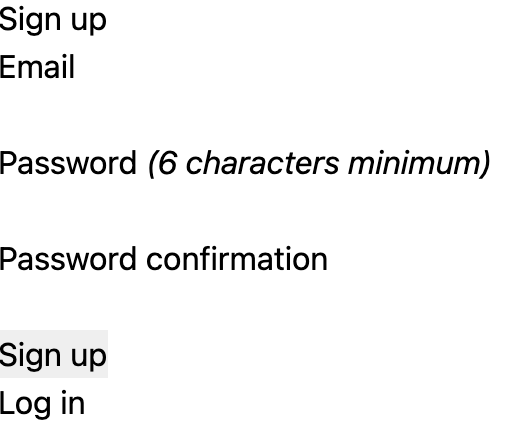
みたいな感じでパッケージングしてくれたページを作成してくれる、これがDeviseか!
ちなみに$ rails g devise:installの時の導入を1しかやってないのでこんな感じで最低限の感じで表示されているのだと思う。
Userテーブルにプラスでカラムをつけたい場合は各々$ rails migration ~で作成をしていきましょう。
次回に続くよ
ただこれをそのまま使用するのは僕のアプリケーションにはそぐわない。
なのでこれからVueでJWT認証をDeviseでできるようにしていく。